Expensya allows you to add expenses in several ways both on the website and the app.
- On the website :
- Go to the Expenses tab
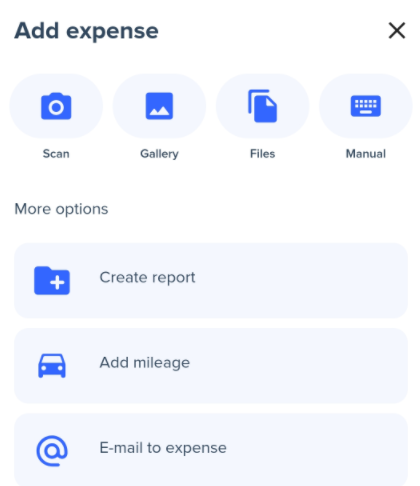
- Click on + Add. You can then pick between three different ways:
- From a receipt: Add an image or a PDF and Expensya will automatically extract all the relevant data for you.
- Manually: Manually fill in an invoice form.
Note: It is also possible to use Email processing: Just forward the email directly to expenses@expensya.com and the invoice will magically appear in the list of your invoices, pre-entered! Just make sure that it’s sent from the same email you’re signed in with.
Tip: To add a mileage expense, follow the same steps and select Mileage from the +Add list.
To add expenses from the report tab:
- Go to the Reports tab,
- Click on the Report to add your expense,
- Click on the Add button.

To delete an expense:
- Check the expense you wish to delete,
- Click on Delete.
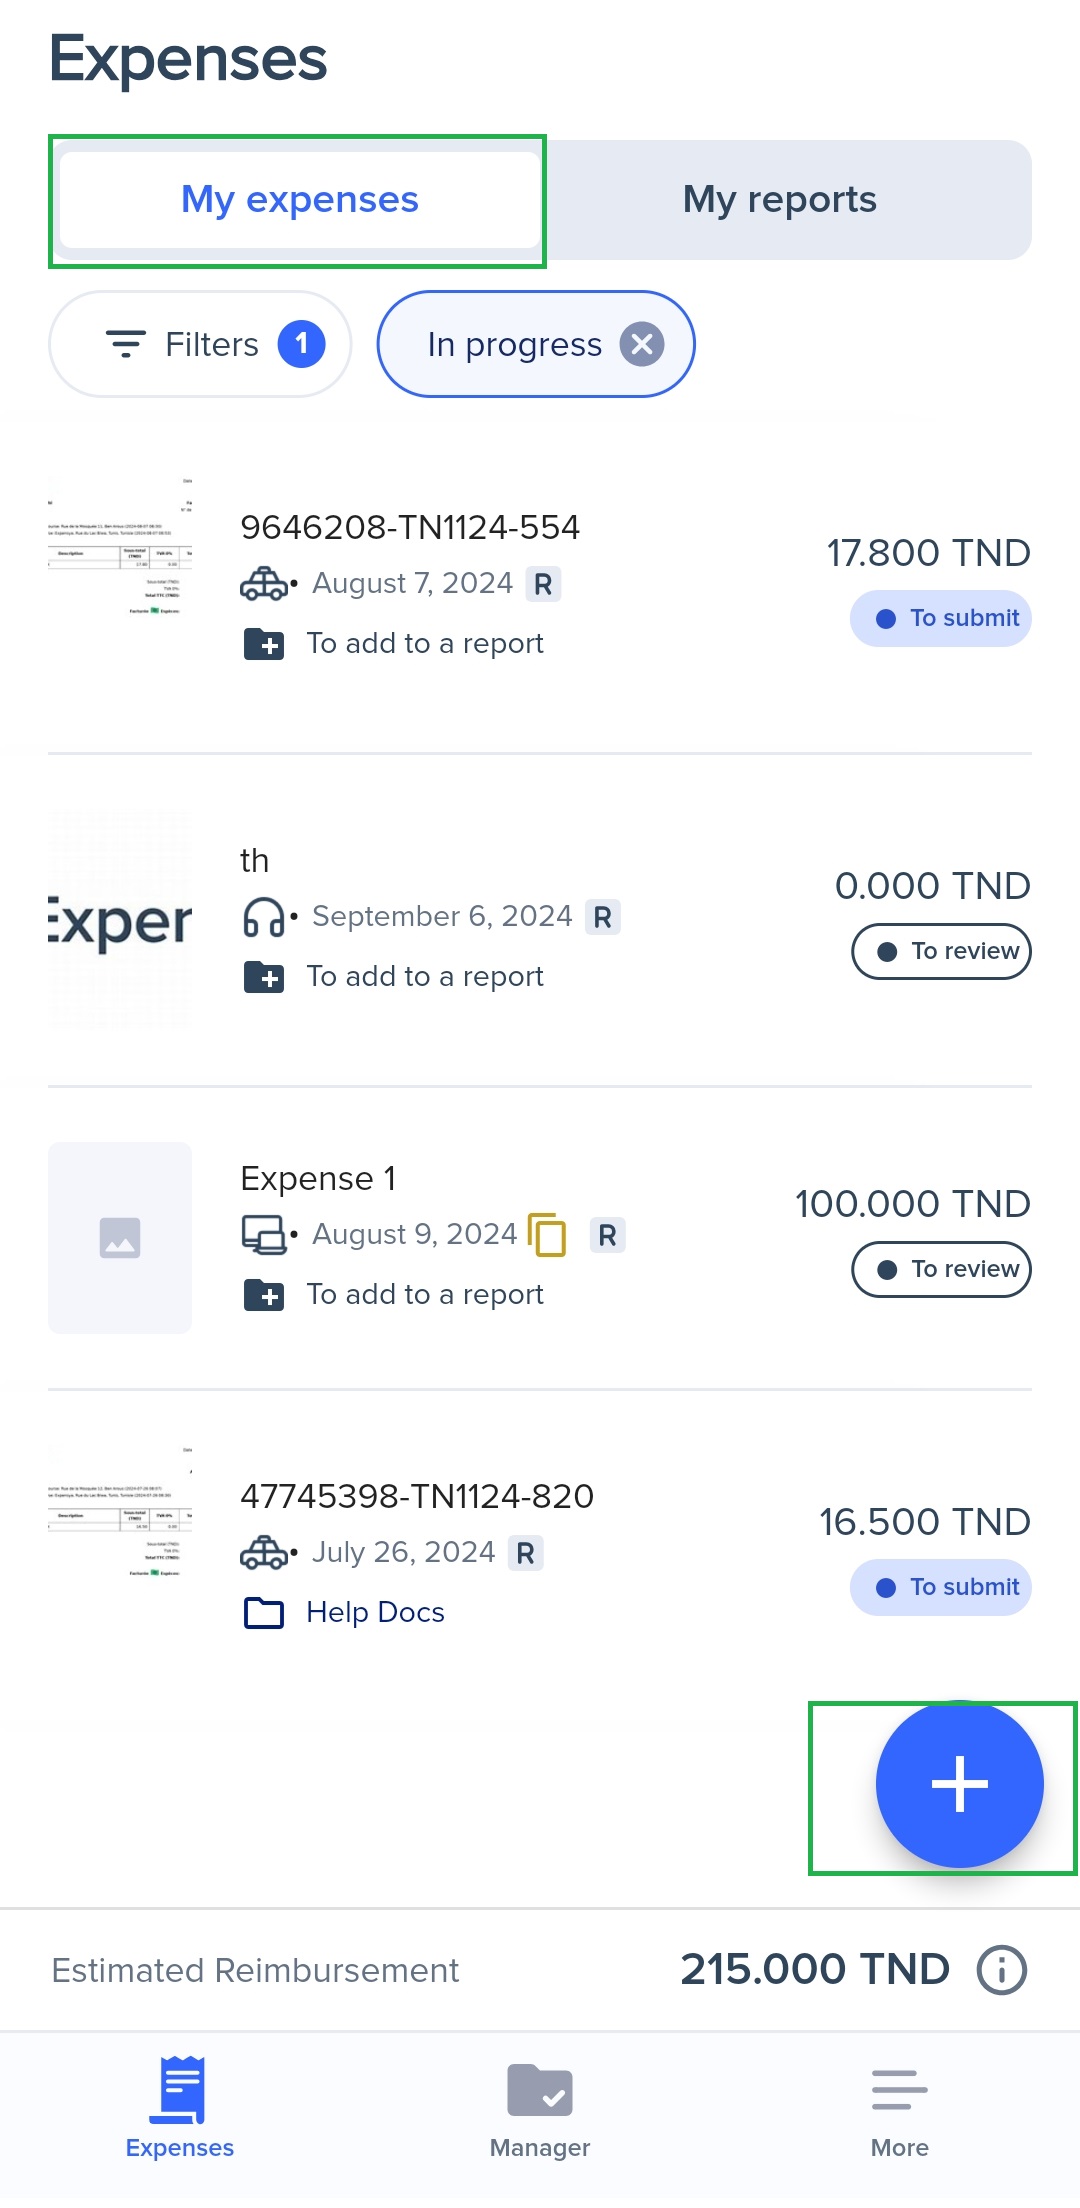
- From the app:
To add your expenses: Go to the My Expenses menu and click on the + button.
Adding expenses can be done in two ways:
- Fast Scan
- Manual entry
If you are going to use the fast scan, here are the different models:
- Simple expense: to take a picture of a simple receipt.
- Several expenses: for multiple pictures of several receipts to be treated separately.
- Multi-page expense: if the expense is on more than one page, select this option to have several pictures treated as one expense by Expensya
To delete an expense:
- Access the Expenses menu,
- Long press on an expense,
- Once the bin icon appears, tap it.
Was this article helpful?
That’s Great!
Thank you for your feedback
Sorry! We couldn't be helpful
Thank you for your feedback
Feedback sent
We appreciate your effort and will try to fix the article